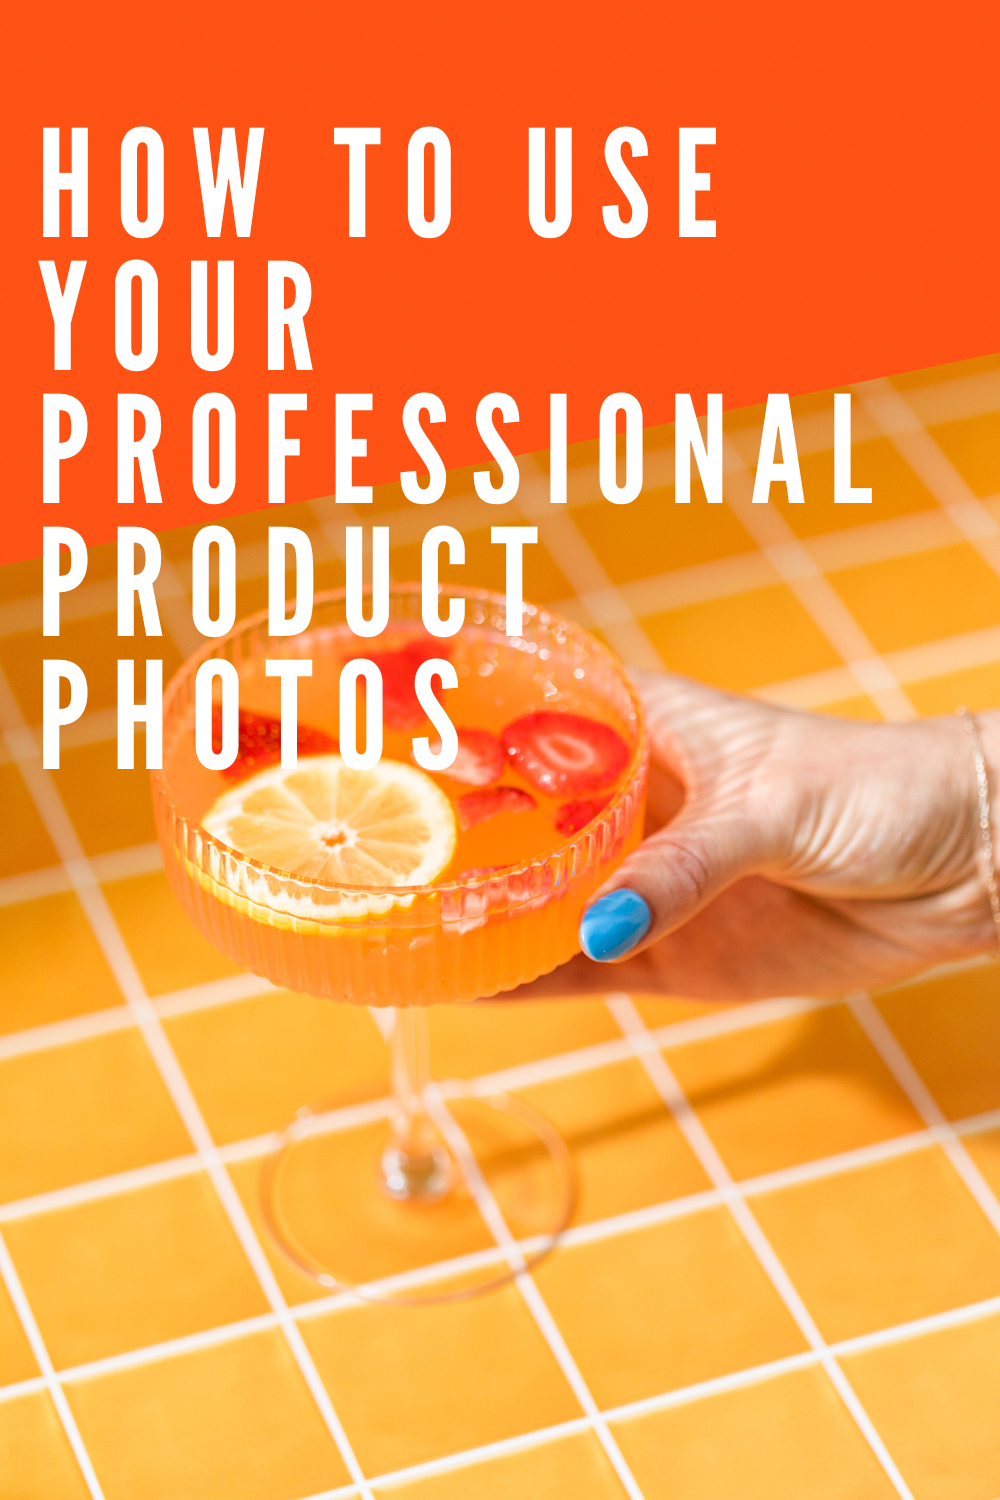
How to use your professional product photos

Product photos can be used in a variety of ways to promote and enhance a brand. Some of these may be obvious, and you are probably already doing most of them, but there might be one idea in this list you haven’t done.

Here are some ideas for how business owners who sell products can make the most of their professional product photos:

1. E-Commerce Website:

- Use high-quality product photos on their e-commerce website to showcase their products. This is crucial for increasing sales and conversions.

2. Social Media:

- Share the photos on social media platforms like Instagram, Facebook, and Pinterest to engage with their audience and drive traffic to their website.

3. Email Marketing:

- Incorporate product photos into email marketing campaigns to showcase new arrivals, promotions, and special offers to their subscribers.

4. Print Marketing:

- Use product photos in brochures, catalogs, and flyers to create eye-catching print marketing materials for distribution at trade shows, events, or in-store promotions.

5. Packaging Design:

- Incorporate product photos into product packaging to provide a clear visual representation of what customers can expect when they purchase the product.

6. Advertising Campaigns:

- Utilize product photos in online and offline advertising campaigns, including Google Ads, Facebook Ads, and banner ads.

7. Content Marketing:

- Create blog posts, articles, and other content on their website that feature product photos to educate and inform customers about their products.

8. Social Media Stories:

- Use product photos in Instagram Stories, Facebook Stories, and Snapchat to provide short-lived but engaging content that promotes their products.

9. Influencer Collaborations:

- Share product photos with influencers and brand ambassadors for them to use in their content, helping to promote the products to their followers.

10. Product Packaging Inserts:

- Include printed product photos inside the product packaging as a visual representation of the product, as well as to cross-promote other products or encourage customer loyalty.

11. Product Listings on Marketplaces:

- When selling on marketplaces like Amazon or eBay, use product photos to create appealing product listings that stand out among the competition.

12. Trade Shows and Exhibitions:

- Display product photos at trade shows, exhibitions, and industry events to attract potential buyers and partners.

13. Website Banners and Sliders:

- Use product photos in website banners and sliders to create a visually appealing homepage and draw attention to featured products.

14. User-Generated Content:

- Encourage customers to share their photos using the products on social media and use these user-generated photos as part of their marketing efforts, with proper permissions.

15. Packaging Inserts:

- Include printed product photos, along with promotional materials, in the product packaging to enhance the unboxing experience and encourage repeat purchases.

16. Google My Business:

- Add high-quality product photos to their Google My Business profile to improve local search visibility and attract potential customers in their area.

17. Product Comparisons:

- Create product comparison charts or guides that include product photos to help customers make informed purchase decisions.

18. Affiliate Marketing:

- Share product photos with affiliate marketers who can use them to promote the products and earn commissions on sales.

By using your product photos across these various platforms and marketing channels, you can effectively build and promote your brand, increase sales, and engage with your target audience.


Tips for Sizing Photos for Publications

When sharing photos to be published on professional blogs and magazines, it's important to send high-quality images that meet the publication's specific requirements. While these requirements can vary from one publication to another, there are some general guidelines you can follow:

  1. Resolution: Photos should have a high resolution to ensure they look crisp and clear in print or on the web. A resolution of 300 dots per inch (DPI) is a common standard for print, while 72 DPI is typically used for web images.

  2. Image dimensions: The actual dimensions of the image will depend on the layout of the publication. Ask the magazine or blog for their specific size requirements. For web use, images are often measured in pixels (e.g., 1200 x 800 pixels), while print images may be specified in inches (e.g., 8" x 10").

  3. File format: Common image file formats for professional use include JPEG, TIFF, and PNG. JPEG is the most common format for web use, while TIFF is preferred for print due to its lossless compression and high quality. I usually save photos in JPEG when printing.

  4. Color mode: For print, use the CMYK color mode, which is optimized for the four-color printing process (Cyan, Magenta, Yellow, Black). For web use, use RGB color mode.

  5. File size: The file size should be large enough to meet the publication's requirements for resolution and print quality. However, it should not be excessively large, as this can cause issues with file transfer and storage. Typically, a high-resolution image will result in a larger file size.

  6. Compression and quality: When saving images in formats like JPEG, you can adjust the compression level to balance image quality and file size. Choose a high-quality setting to minimize compression artifacts, especially for print.

  7. Naming conventions: Use clear and descriptive file names, including your name, a brief description of the content, and possibly the publication's name or date. This makes it easier for editors to manage and find your images.

  8. Submission guidelines: Always follow the submission guidelines provided by the magazine or blog. They may have specific preferences for file formats, delivery methods, and other details.

  9. Metadata and captions: Include relevant metadata and captions with your images, especially if you're submitting them to a publication. This information can help editors understand the context and content of the images.

  10. Image release forms: If your photos feature recognizable individuals or private property, you may need to provide signed model or property release forms to protect the publication from legal issues.

It's crucial to communicate with the magazine or blog's editorial team and ask for their specific requirements and preferences. Different publications may have varying standards, and adhering to their guidelines will increase your chances of having your photos published in a professional manner.

Loading Your Photos On Instagram...Don't Do This

When you load photos on Instagram, make sure you do the photo justice. Don't cut off limbs and make the photo incomplete.

In my college photography classes, the composition rule my professor taught us when photographing portraits was this: do not cut off limbs in your photo. More specifically, don’t crop where the joints meet.

For example, wrist to forearm, elbow to upper arm, ankle to leg, and knee to upper leg. If you crop parts of the body, do it in the middle of the arm, or middle of the thigh for example.

Cropping at the joints leaves the body incomplete. It makes the brain wonder where the hand or foot are. However, if you crop in the middle of the torso instead of at the hips, or middle of the forearm and not the wrist, it helps the brain see the body complete, knowing there is more outside of the frame.

This one tip can either make or break your picture (in my professional opinion) when posting on Instagram.

Did you know you can use a rectangle crop instead of a square crop when posting on Instagram?

How to make a rectangle crop on Instagram:

  • Select the plus sign at the bottom in the middle.

  • Select the picture that you want to showcase. As you select the picture and Instagram pulls it up, it shows it in a square form.

  • For this picture I’m showing you in the video, the picture is a full body, head to toe photo, so we need a rectangle crop.

  • Select the right angle icon at the bottom left. This will give the photo a fuller crop.

  • The new composition still crops off the feet.

  • This can be corrected by gently sliding the image up with your finger. Did you know you can do that you?

That’s it!!

Next time you post, try this out. Even if you use Planoly or other third party planners for social media, you can still apply this technique.

If you have any follow up questions, feel free give me a call or email me.

Cropping Guide (1).jpg

Do You Want To Look Good On Social Media?

Planning for social media is a battle when you don’t have a picture to post. Am I right?
⠀⠀⠀⠀⠀⠀⠀⠀⠀
Let me help you out! Grab your five free organic and nature inspired stock photos to plan out your social media content. Click the photo below and enjoy!

How can I use stock photos?

  • Instagram and Facebook posts

  • Newsletters

  • Slideshow presentation

  • Ebook

  • iPhone Wallpaper

  • Instastories background with quote

  • Load in Canva and add text box